Sourdough Soft Tortillas made with Lard Recipe
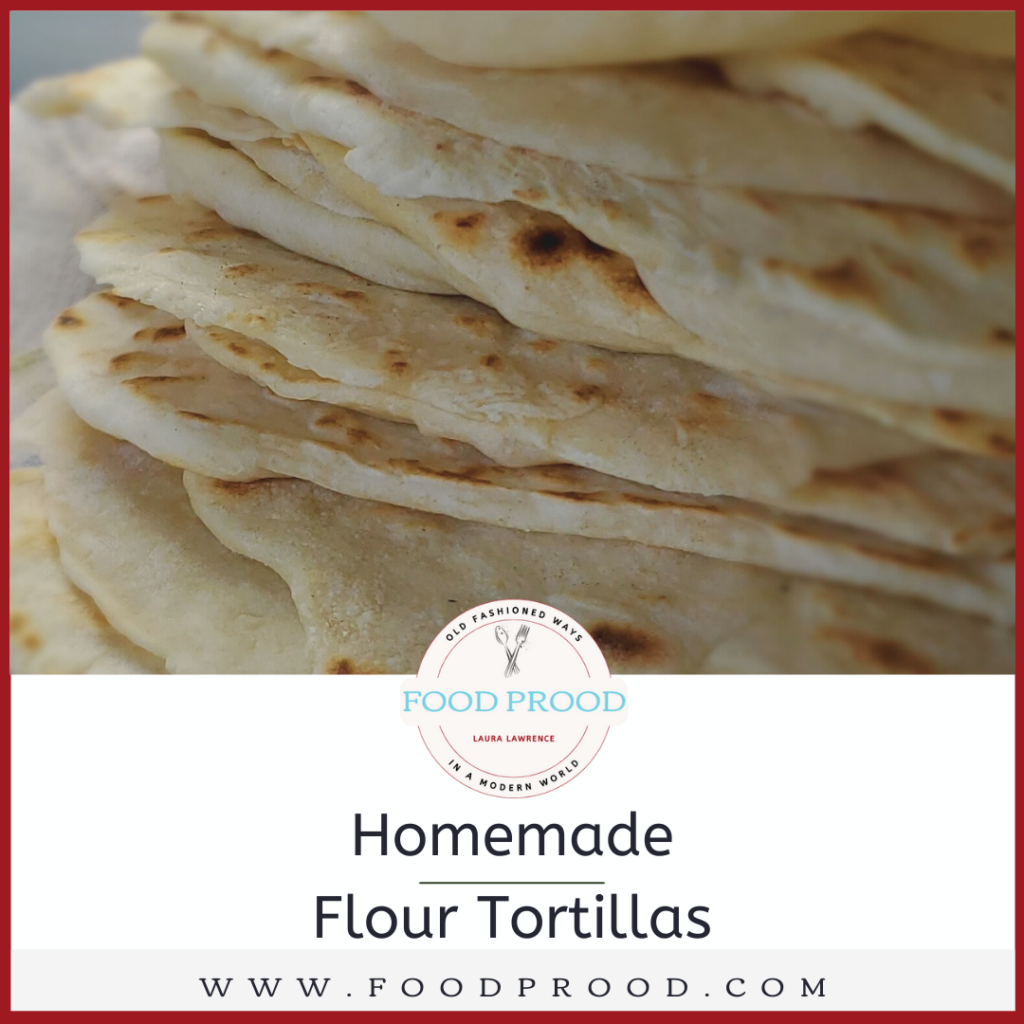
Learn how to make soft and pliable flour tortillas with Sourdough starter + Lard and a cast-iron skillet. Follow the easy steps and tips for perfect taco night. (or heck turn them into pizza roll ups, sandwich roll ups, burritos or more)
The Sourdough starter could be at any point (active or stirred down) which makes this a great easy to make. I suggest making the dough the night before so you can have that long ferment in order to reap the full benefits of sourdough. <– Read all about it!
The Lard really helps make these sourdough tortillas soft & pliable & chewy. Oh so yummy! Read why Lard is amazing HERE.
If your looking for Sourdough Corn Tostadas or Sourdough Tortillas with out Lard I’ve got that to
Makes approx 8 tortillas
Ingredients:
- 1/2 Cup Sourdough Starter
- 1/2 Cup Water
- 1 Teaspoon Salt
- 4 Tablespoons Lard
- 2 Cups Flour
Directions:
- Using a stand mixer attach the dough hook and add the sourdough starter, water, salt and lard.
- Turn on the mixer and mix for 1 minute. Add the flour and turn on low for 5 minutes until the dough is smooth.
- The dough should come together into a ball and away from the bowl.
The NEXT Morning:
- Turn out the dough and pat slightly into a circle. Using a bench scraper cut into 8 sections.
- Roll into balls and let rest 30-60 minutes.
- Flatten each ball into a circle to help relax the gluten. If it’s bouncing back to quickly you can let rest longer.
- Use a rolling pin or your hands flatten out or roll into a circle.
- After all 8 have been flattened to your desired size heat up your cast iron pan (or skillet) to medium high.
- Place one tortilla at a time and cook for about 2 minutes on each side.
- Place in a towel in order to keep them soft & warm until you are ready to use.
Enjoy!


Learn How to Create Sourdough Bread
and Incorporate it in Your Life with Everyday Recipes


I am glad you’re here!! Sourdough has become very popular lately and rightly so. I mean it’s BREAD! Plus I believe that it’s a healthy option. I’m here to show you how I do Sourdough, how I started and how I have incorporated this into my daily life and I’m here to help YOU do the same!
Let’s get started!
I want to ensure you that is not daunting, scary or overwhelming. Of course I know it may seem that way, trust me I felt the exact same way. I was like what?!?! No way, sounds way to much work and just over my head. But trust me, it is not. You can do this! It’s simple once it gets broken down step by step which is exactly what I plan to do for you.
You can get started by either creating your own (which I did), purchasing a starter or be gifted one. Being gifted one is obviously the easiest, but creating your own will really help you appreciate how this bad boy works. If you choose to start your own, it will take several weeks before you can bake bread with it. It needs to be alive enough (yeasty, bubbly goodness) in order to make the bread rise. However with all the discard (you’ll discover what this is all about soon) you can make plenty of yummy things in the mean time!!
Below you will find links on how to get started
However, if you would prefer a downloadable Workbook + Videos + Online Curriculum + Personal Support You Can BUY My
Click and use CODE: SourdoughSite to SAVE 25% off the COURSE
Welcome Video!
Health Benefits
Why is Sourdough Good For you?
- It’s a fermented food- that means it’s good for your gut – by allowing it to “ferment” overnight or for many hours the yeast has done it’s job by breaking the gluten down so it’s easier for your gut to digest, allowing your stomach & gut to absorb the vitamins easier and not be bogged down by breaking down the gluten.
- Because the fermenting process has done it’s job by breaking down the flour & gluten it can be much easier for a gluten sensitive person to digest and handle better. This is only for someone who is sensitive to gluten, not celiacs, etc.
- Another great reason for eating sourdough bread, the fermenting process also has broken down the bad starches and when we consume the bread it does not dramatically spike your glycemic index as much.
- The process breaks down the phytic acid and allows for the good bacteria such as Lactobacillus to thrive which makes it another reason for our digestion system to access the good stuff.
- It’s made with “wild yeast” not store bought yeast that was lab created.
- There’s vitamins!
Creating a Sourdough Starter

Getting Ready Video
First click HERE and print this out! It’s your complete step by step work sheets!
Creating Your Starter Video Below- a must watch!
Equipment Needed: (Recommended items once your starter is bubbly is below)
- Quart Jar (or any class jar)
- Breathable lid such as cheesecloth or coffee filter
- Spoon
- Flour -Unbleached Organic Preferred
- Filtered Water (preferred)
Flour Types:
- Organic whenever possible
- All should be unbleached!
- All-purpose flour
- Bread flour
- Whole Wheat
- Fresh Ground hard Wheat
- Gluten Free: Brown Rice

Notes: Save the discard each day in a glass container in the fridge and use for “discard recipes” like Muffins, Pancakes, Waffles, and More! Also do NOT put a solid lid on your starter, the flour and water mix needs to grab wild yeast from the air in order to grow.
Do NOT put discard down your drain, either save or dispose.
Creating Your Starter Video
Let’s Create Our Starter
First click HERE and print this out! It’s your complete step by step work sheets as shown below but much easier to print and read.
Sourdough Resources – Q&A

Start by watching BOTH videos, Q&A Below
Tips & Tricks
Putting Your Sourdough Starter to Sleep & Waking it Back Up
https://www.youtube.com/embed/hqFDsMy4vD0
Q&A
Well now you have a starter you get to feed it! On a daily basis you will need to feed it ¼ cup water + ½ cup flour (no chlorinated water) Cover the jar with a breathable cloth (I use a bit of cheese cloth) or a coffee filter held on by a rubberband. If your starter has a darker liquid on top that is called “hooch” you can either stir back in or pour off (I pour it off) that means your starter is very hungry!
Everyday you will need to discard half of the starter – I store this in the fridge in a container with a lid. There are many recipes you can use for this discard. Look for them in the recipe section! Like waffles, muffins, tortillas, etc. Do NOT put discard down the drain, throw it away. Your pipes will thank you for this.
Why Do I have to Discard? In order to keep the acidity levels in balance a portion of it must be discarded before feeding.
I want to make bread! Ok -once your starter is in the active stage (bubbly and risen about 3 hours after you mixed the ¼ cup water + ½ cup flour your starter will be ready to use! You can tell by the bubbles and the mixture has doubled in size. Recipes below, all breads, pizza dough, etc. You can mark the jar with a dry erase marker or use a rubber band to show the start volume.
Do I have to feed it everyday? No, not at all. You can put it to sleep in the fridge! Discard & Feed 1/4th cup flour 1/8th cup water, after 2 hours put it in your fridge. Leave it there and when you can, preferably on a weekly basis , take it out discard & feed and either use or place back in the fridge.
Does this take a lot of time? Yes and no. Most is hands off time but there is a lot of time in between rising and fermenting. The longer you let stuff ferment the more it has broken down and easier on your system to handle. Sometimes it gives it a more “sour” flavor as well.
What do I feed it? I feed mine with organic all-purpose flour (unbleached) you can feed it just about anything that is unbleached. White flour, bread flour, whole grain flour or a mix of all. If yours is GF you can feed it brown rice flour or the GF mix I use found in the GF section of this workbook.
Click on Image to Download & Save & Print
Maintaining Your Starter On a daily basis you will need to feed it ¼ cup water + ½ cup flour (no chlorinated water) Cover the jar with a lid or a coffee filter. If your starter has a darker liquid on top that is called “hooch” pour the gray liquid off and feed. This means your starter is very hungry! Every day you will need to discard half of the starter by dumping it into a container with a lid (store the discard in the fridge). There are many recipes you can use for this discard. Do NOT put discard down the drain. Bubbles are good and means time to bake bread.
Recommended Items

Bench Scraper


