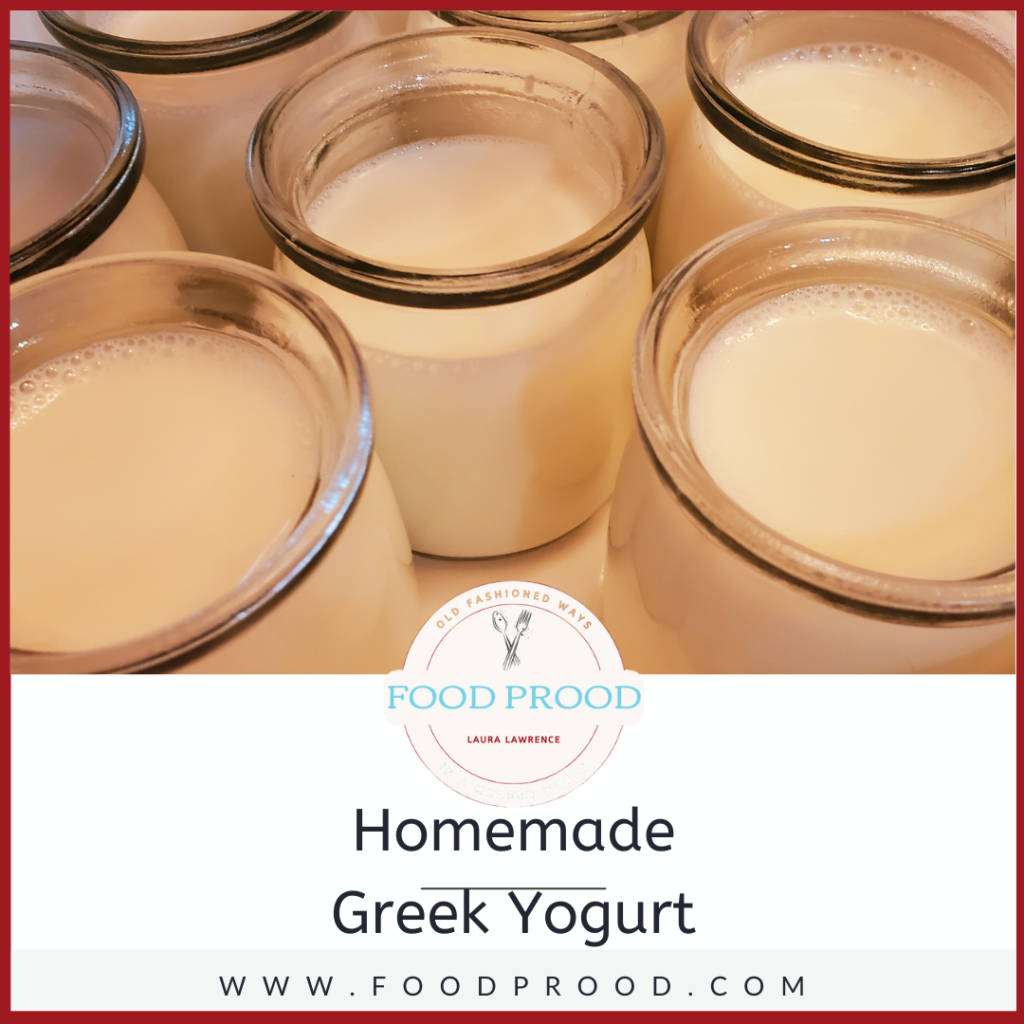
How to Make Greek Yogurt at Home
Now this my friends is a game changer- Once you buy the Greek Yogurt Starter you can make your own at home over and over again.
The Trick? Save 1/4 cup each time you make the yogurt, put it in your freezer and use that as your starter the next time! This makes a delicious greek yogurt that we also use as our sour cream. It’s also great in smoothies or mix it with Homemade Granola. All your favorite ways!
It’s healthy and full of probiotics!
First thing you’ll want to do is grab your Greek Yogurt Starter and follow the directions that it states to get it started. From this first batch you will save 1/4 cup each time and place in your freezer. This will be your starter you will use each time you make a batch.
I personally use Raw Organic Milk- however you can use most any milk but it can not be Ultra High Pasteurized.Read below how to Activate Your Greek Culture Starter and How to use that Culture Over & Over To Make Greek Yogurt At home
Yogurt Culture
Activating Your Greek Starter
Ingredients:
- 1 Packet yogurt starter (Store extras in the freezer)
- 1 quart pasteurized whole milk, raw milk, etc (Do not use ultra-pasteurized)
Directions:
- Heat 1 quart milk to 160° then cool to 110°F
- Pour the cooled milk into a glass or plastic container
- Add one packet of yogurt starter and mix thoroughly
- Cover the mixture and incubate it at 110°F in a yogurt maker or similar appliance (Some suggest using the oven with light on, or wrap with towels and put it in the sun)
- Check after 5 hours to see if it has set. You’ll see a change in the milk’s texture and it will pull away from the sides of the container when it’s tilted. If your starter has not set, culture for up to 12 hours, checking every 2 hours.
- Once yogurt has set, or at the end of 12 hours, cover the yogurt and allow it to cool for 2 hours.
- Refrigerate the yogurt for at least 6 hours. You can eat it at any time (refrigerating it helps set the yogurt)
- IMPORTANT: Save ¼ cup and put in the freezer for the next batch without using the culture. (explained more on the “Greek Yogurt” page)
*instructions from Cultures for Health Greek Yogurt website
The packet comes with 3 individual packets; you can save the other 2 in the freezer in case you forget to save the ¼ cup of your cultured yogurt for future batches.
Once you have your Starter all ready to go this will be your directions how to make Yogurt each time!
Ingredients:
- 6 Cups Raw Organic Milk
- 1/4 Cup Yogurt Starter (from your freezer)
1. Slowly heat up the milk to 185 Degrees F- Stir frequently as it gets to the higher temp. If a layer of milk forms on top (the skin) you can just stir that back in.
2. Maintain that temperature for approx 5 minutes. (I’ve also just reached the high temp and turned it off and it’s worked just fine)
3. Cool down the milk on it’s own accord until it reaches 115 degrees F. Stirring so it doesn’t burn or form the “skin”.
4. Once cooled stir in the 1/4 cup yogurt starter and place into yogurt containers. I use a yogurt maker from Mercola. You can use an instant pot as well. Just follow the manufacturers directions. You could also store in a warm place, perhaps wrap it with towels and place the container(s) in a cooler (no ice). The ideal temperature is 110 degrees F for 5-8 hours.
After it has set, cover and place in the fridge. Make sure to save that 1/4 cup out and place it in the freezer for your next batch.
We use this for our sour cream, it’s healthy & delicious!
RESOURCES:
Health Benefits of Fermented Dairy Products

Cultured dairy products contain probiotics and we all know that the more probiotics we consume, the healthier our gut is. A healthy gut will consist of a large diversity of flora and fauna which equates to better digestion, a healthier immune system, and so on.
Where & What to Purchase
Resources Found at:
What are Cultures?
Cheese cultures are a group of specific bacteria strains that are combined in order to make a particular type of chees e. They are also used to help good bacteria in the milk flourish and lead to a more rich and developed flavor. Heat & specific culture’s will tell the milk how to behave and what to turn into. There are two different type’s of Culture’s.
Mesophillic vs. Thermophillic Culture’s
- A mesophilic culture will ferment or culture at room temperature without the addition of heat. Temperatures between 60 and 75 Degrees F
- A thermophilic culture needs to maintain a consistently higher temperature in order for those cultures to develop. (Example, yogurt needs to culture between 108-112 degrees Fahrenheit for about 4-24 hours.)
Purchasing Culture’s is a 1 and done!
Once you purchase the cultures you can save the fermented/cultured dairy for the next batch, and use this on repeat over and over again. For example- Once you create the yogurt using the greek yogurt culture you save ¼ cup and freeze it for the next batch of yogurt, and continue doing this every time you make yogurt. Another example, once you create the buttermilk using the buttermilk culture, you save ¼ cup of that and freeze it. Mix that up with a quart jar 2/3rds full of milk and let it sit out over night and then you get butter milk that’s already cultured. Keep the process going! You’ll end up using the buttermilk as a culture in several recipes, so it’s always good to keep this on hand to create your cheeses.

Learn To Make
Why does milk get pasteurized?
For centuries people have enjoyed fresh un-pasteurized milk from healthy animals. However, if the animal has health issues or the milk is handled poorly the milk becomes unsuitable for human consumption.
Milk can meet all of the nutritional needs of a newborn. But, it is also perfect for many non-dairy bacteria that can populate milk quickly if it’s not properly cared for. This can lead to some major health risks when drinking raw milk.
Traditionally, before pasteurization, the procedure was to milk animals daily and consume their milk quickly, because natural bacteria, as well as the un-invited ones, can grow quickly if left at room temperature and some can even grow at fridge temperatures. This natural fermentation is often referred to as clabbered milk, when it begins to coagulate on its own.
When farms were small and milk was consumed quickly there were very few problems. As populations and demand for milk in non-rural areas increased health issues increased.
Over time larger populations grew and herd sizes had to grow in order to keep up with demand. Larger herds often made it more difficult to maintain sanitation standards. Milk borne diseases began to rise as herds became larger and the supply chain became longer and longer. This is when the scientist Louis Pasteur stepped in with his pasteurization process.
By the early to mid 20th century, much of our milk was being pasteurized due to milk causing health issues. With pasteurization and better standards of sanitation, large scale milk distribution quickly became safer.
Today, milk could not travel and sit in a store for the period of time it does without pasteurization.
How does milk get pasteurized?
During pasteurization milk is heated to at least 162F for 16-20 seconds in larger dairies or 145F for 30 minutes for small farms before chilling.
Higher temperature methods also exist, some dairies go beyond 168F, but this can sometimes be problematic for developing a good curd when making cheese. If your curd breaks into small grains when you try to cut or stir it this is a likely caused by overheated milk.
The final pasteurized milk is not sterile but has had most of the pathogenic bacteria removed through heat treatment. The downside of pasteurizing is that it destroys some of the beneficial enzymes as well as the good dairy bacteria and can change the overall flavor significantly.
Why does milk get homogenized?
In addition to Pasteurization, bottling facilities also tend to Homogenize the milk. This process prevents cream from rising while bottled milk is transported and placed on a store shelf.
Homogenization shatters and breaks larger fat globules into smaller sizes. This is not normally a problem for cheese making except when the cheese has a longer aging period.
This process can actually make the cheese making process a little easier because it eliminates having to deal with cream as it rises and separates in the cheese vat. It also prevents you from having to deal with varying amounts of butterfat, which means you won’t have to make process changes to compensate.
The downside of homogenization is that the butterfat surface is changed and can become a problem with long term aging of higher fat milks made into cheese.
Uses for the Whey:
(This is the byproduct of cheese making)
My favorite way to use Whey is to ferment the feed for my chickens and pigs. Soak your feed overnight in the extra whey, make sure to completely cover the feed so it doesn’t turn moldy on top.
If you make Farmhouse Cheddar you can use this whey to make sweet whey ricotta which I use in casseroles, taquitos, and wherever else I want a creamy cheese. That recipe is found at the end of the farmhouse cheddar recipe.
If you do not have animals you can use the whey in smoothies or in fermentation of vegetables. Do a quick internet search and you’ll find plenty of ideas!
Choosing The Best Milk
Choose whole milk or raw milk fresh from the farm. Anything that is marked “UHT” which is Ultra High Pasteurized will NOT work. This milk has been heated to such a high temperature that all of the native bacteria and enzymes are completely changed and destroyed. As a result it will not form a curd and will make only a mush resembling ricotta if an attempt is made to make cheese with it.
How to Find Raw Milk:
https://cheesemaking.com/tools/good-milk-list

References/Resources
Melissa K Norris
New England Cheese Making Company
Culture for Health
