
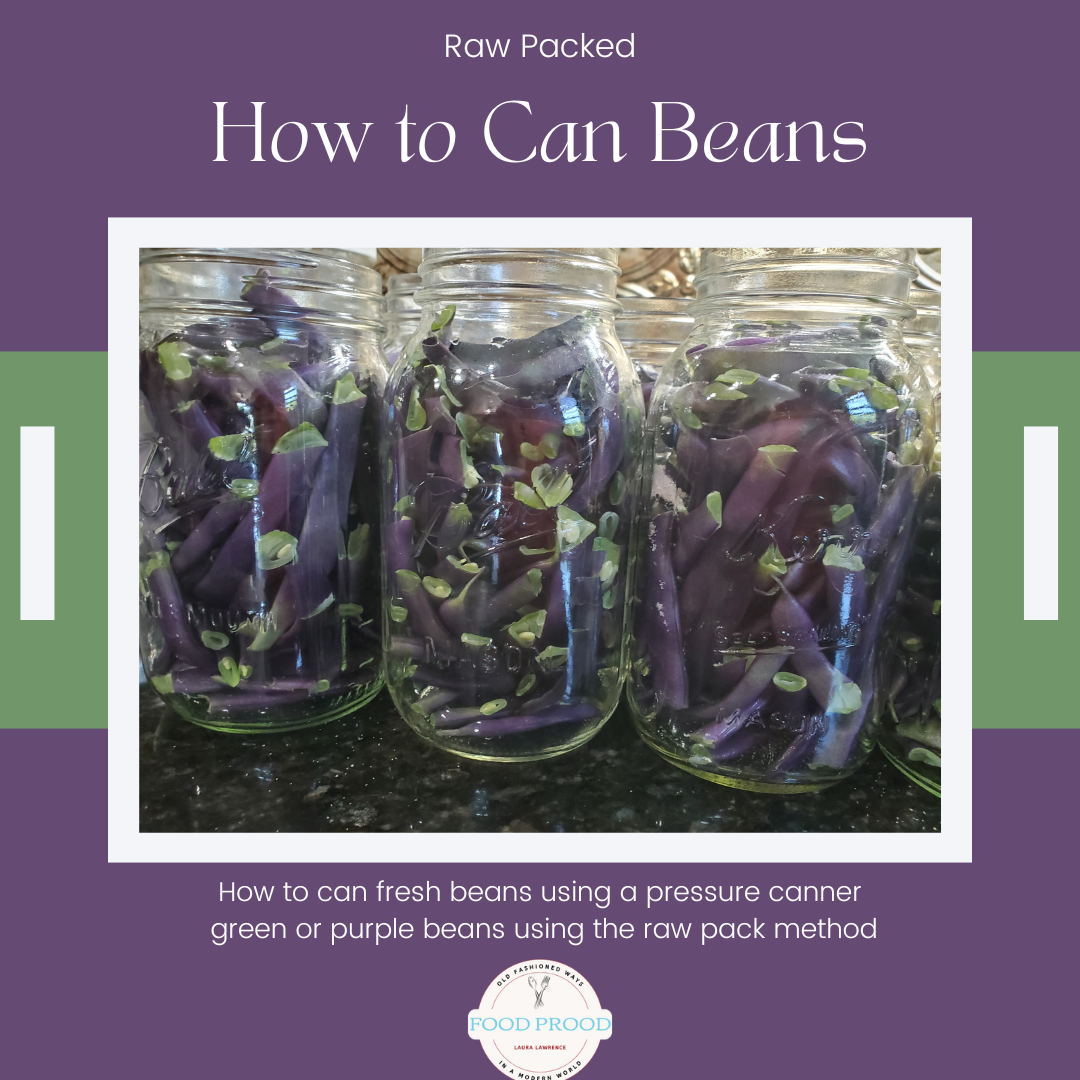
How to Pressure Can Fresh Beans using the Raw Pack Method

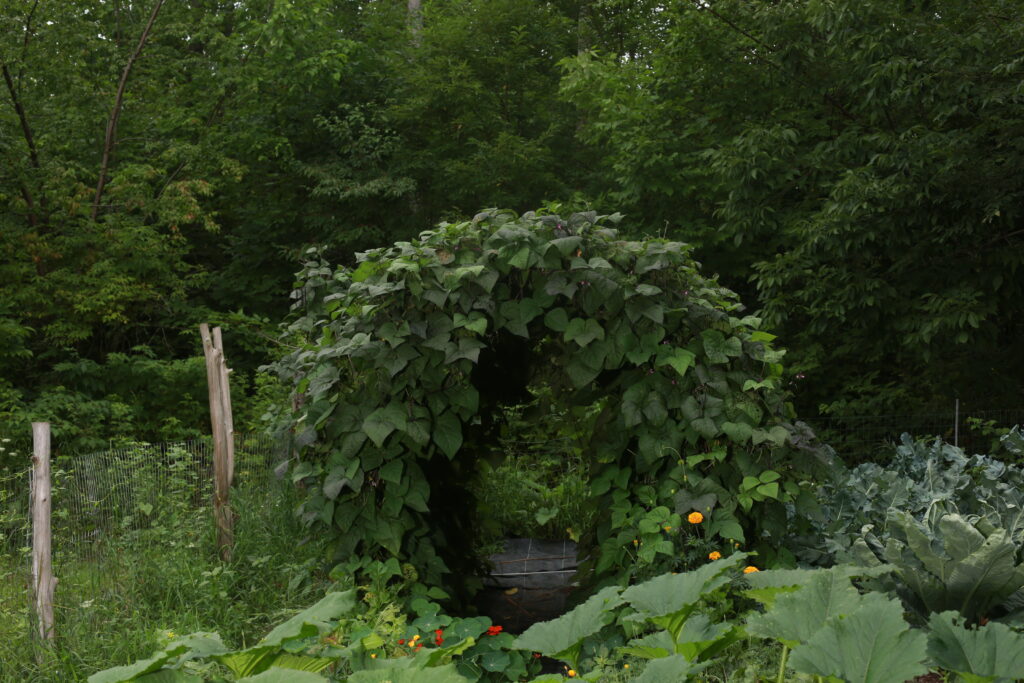
Using the Raw Pack method let’s learn how to pressure can fresh beans. If you haven’t noticed how much I love my Purple Podded Pole Beans you’ll want to find out all about them by clicking HERE

If you’ve grown your own beans or your able to grab from a friend or farmer’s market this is a great and really easy way to preserve those beans for those colder days to pair with any meal such as Lemon Garlic Roast Chicken.
There are two types of methods for fresh beans Raw Pack & Hot Pack, I’ll be sharing with you the Raw Pack Method because in my opinion it is easier and it allows the use of my kids to help (no boiling water at first), so utilize whatever help you can get with this project. Beans are typically the first thing in the season I will start preserving and utilizing the kids is a great way to get them in the kitchen and help. Those little hands can really pack down the beans into each jar. Bonus!
Kids Can Help With This Project!

Here’s the Quick Steps
- Wash Beans
- Trim Beans
- Pack Beans
- Add Salt
- Add Water
- Place in Pressure Canner
- Process
- Let Cool & Store
MY Favorite All American Canner- I can “can” 14 quarts at a time! Get ‘er Done!

Let’s Can Shall We!
How Much is Needed:
It is hard to determine how many beans or pounds you will need per batch – how much you pack into each jar, the size of jar and the amount your pressure canner holds will determine the quantity needed. It’s something you’ll figure out in time by eyeballing it. Seriously, what a science specific thing to say right? You’ll need quite a bunch, so save them in a bag already washed in your fridge until you gather enough. The great thing with the Raw Pack Method is you’ll be trimming and stuffing the jars as you go along so you’ll be able to gauge how much you need or when your jars are full stop trimming the beans and save for future use. According to my All American Pressure Canner booklet they state “an average of 2 pounds is needed per quart”
- Gather your beans and give them a good rinse.
- Using a knife or scissors trim off the ends you do not want (we only trim the stem part) Scissors work great with this process.
- Snap or cut beans into the sizes you would like.
- Place the beans into your desired jar, leaving a one inch headspace. (you can pack them in pretty good)
- Place 1 teaspoon of salt per quart jr or half a teaspoon per pint jar. (note: I’ve skipped the salt one year and regretted it)
- Boil water (boil more than you think so you’ll be prepared)
- Add the boiling water to each jar leaving a 1 inch headspace. I like to run a knife around the edges to help release any air bubbles.
- Using a paper towel place a bit of vinegar and wipe each of the rims.
- Place washed lids and finger tighten the rings.
- After following your pressure canners directions -place into your pressure canner and process per your manual.
- Allow to completely cool down and remove the jars by using a jar lifter tool and place onto towels, I like to cover the jars with additional towels so they continue to cool down slowly.
- After cooling down for 12-18 hours check that the lids have sealed. If they sealed allow to sit longer, label & store in a cool dark space. If they did not, make sure they are completely cooled and place in the fridge.
Here is how I process in my All American Canner. (directions in the manual)
- Placing 2 inches of hot water into the canner using a ruler to check the depth.
- Place jars into the canner and place the lid on.
- Turn on burner, and allow to vent for 10 minutes. This means a full stream of steam coming out of the top where you’ll eventually place the pressure control and turning on the timer after it starts steaming.
- Then place your pressure control/regulator onto the vent pipe. Altitude of 0-1000 feet using 10 lbs of pressure, above 1,000 feet 15 lbs of pressure.
- Allow pressure to build up, setting the timer when the pressure regular starts jiggling. Adjust your heat to have the regular jiggle 1 to 4 times a minute. Turn off burner when time is done. TIME: Quarts 25 minutes Pints 20 minutes
- Allow it to cool down completely with the regular still on, the pressure dial gauge will go back down to zero.
- Remove the lid and using a jar lifter remove the jars and place onto towels, cover with more towels. Allow the jars cool down completely, usually the next day for me. Check the jars for a seal, mark and store if so.
MY Favorite All American Canner- I can “can” 14 quarts at a time! Get ‘er Done!

Learn How I Grow My “famous” Purple Podded Pole Beans
Seed Saving is extremely important, beneficial, and cost saving! Learn EXACTLY how to seed save with my Online Course which includes 15 Videos + Printable Workbook to show you how it all can be done.
Use Coupon code “BEANS” for HALF OFF!!


Learn how to GROW – HARVEST – PRESERVE DRY Beans (click the image)


