
![]()


![]()
Laura Lawrence- Northern Michigan Homesteader
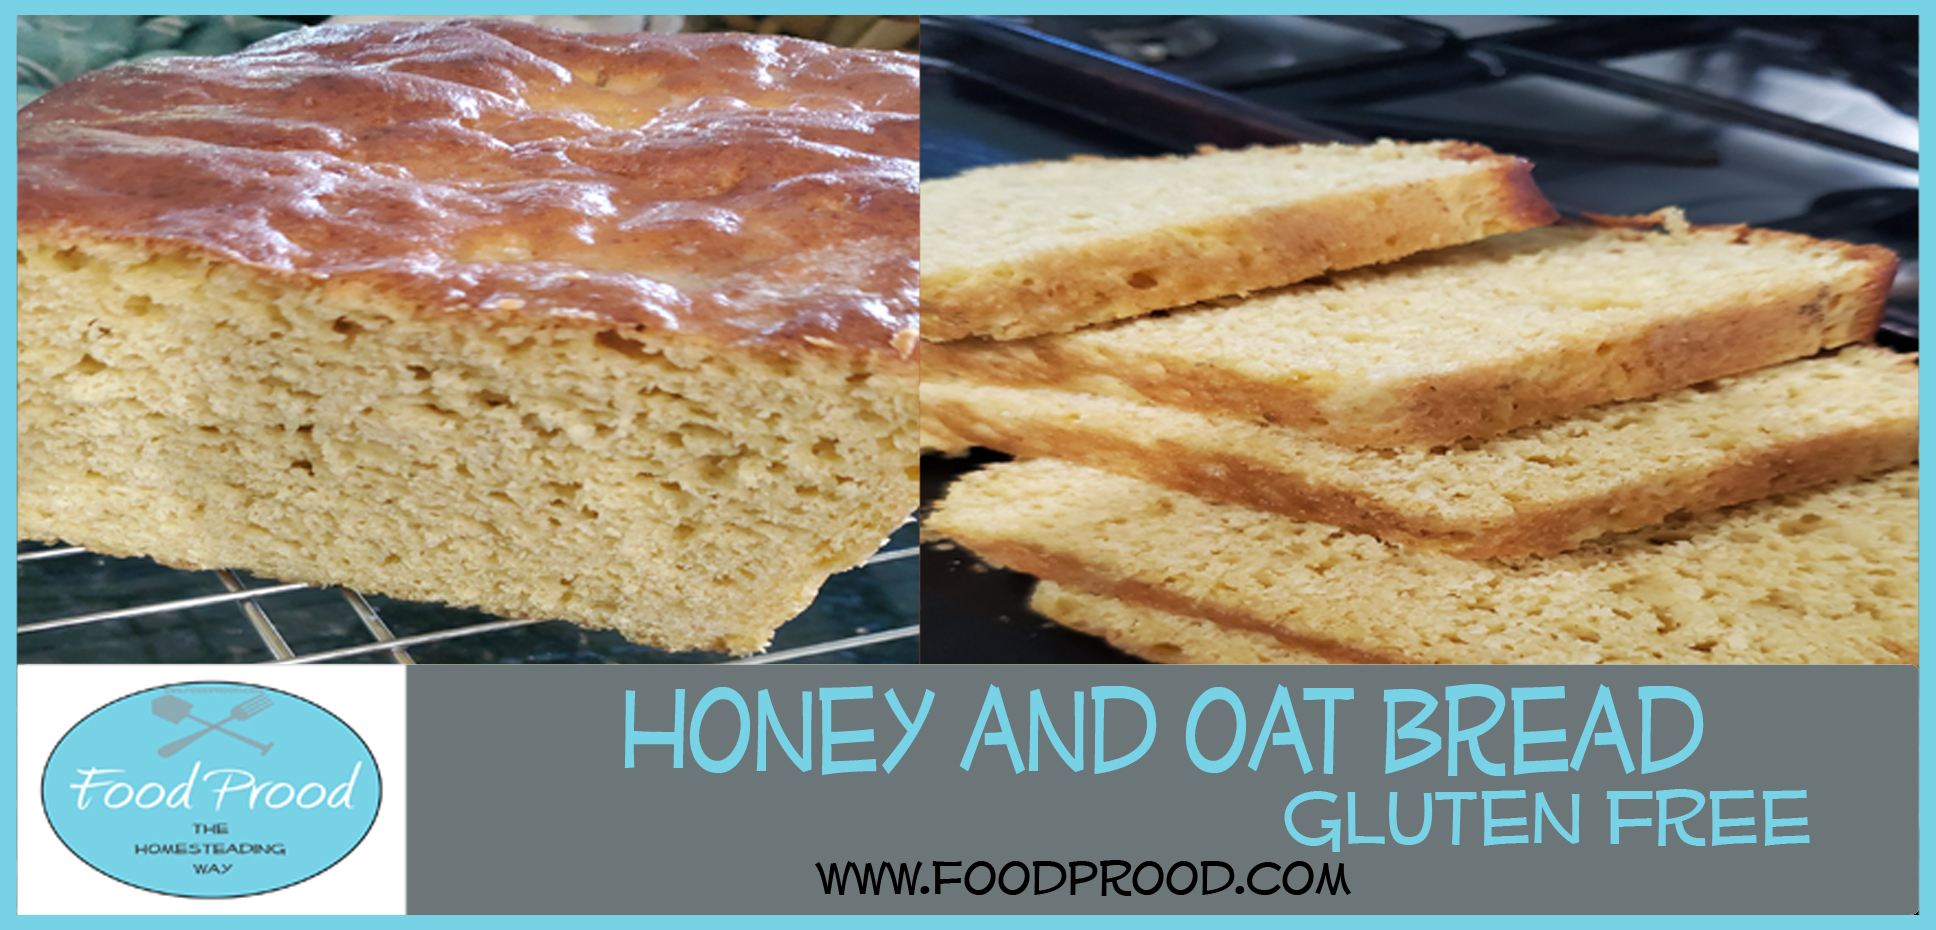
We love this bread! It can be such a great filling treat. After the Honey and Oat Bread has baked and cooled you can pour or brush on more honey! It's a favorite bread around our home. It's Gluten Free as well! I use my small grinder to grind up my oats that I always have on hand. This helps save on the budget of purchasing expensive Organic Oat Flour. This Gluten Free bread uses only a few ingredients and nothing to complicated or that you'll have to search for. It holds up very well and it's our favorite Gluten Free Bread. Honey and Eggs come from the Homesteading Items.
GLUTEN FREE!
Ingredients
- 1 cup brown rice flour
- 1¼ cups oat flour make sure the flour is certified GF
- ⅔ cup potato starch
- ⅓ cup tapioca starch
- 2 teaspoons instant yeast
- 1¼ teaspoons kosher salt
- 1¼ teaspoons xanthan gum
- ¾ cup warm milk
- ⅓ cup honey *
- ¼ cup soft butter
- 3 large eggs *
*denotes a Homesteading Item
Directions
-
Place the flours, starch, yeast, salt and xanthan gum in a mixing bowl, or the bowl of your stand mixer. Warm the butter, honey and milk in a glass bowl or cup until the butter is melted. Whisk or stir it together and set aside.
-
Using an electric mixer (hand mixer, or stand), use the regular stir attachment not the dough hook. Gradually beat the warm milk, butter and honey into the dry ingredients. The mixture will be crumbly at first, but once all the milk is added, it’ll come together.
-
Add the eggs, one at a time. Beat the mixture till each egg is thoroughly integrated before adding the next one. Once you’ve added all the eggs, beat the mixture at high speed for 3 minutes. This adds air to the thick batter, which helps take the place of the missing gluten as far as structure is concerned.
-
At the end of 3 minutes, the batter will look like thick, heavy buttercream icing: smooth and silky. The dough will also be very sticky, and feel a bit gritty if you rub some between your fingers. Leave the batter right in the mixing bowl and cover the bowl with a light cloth or plastic wrap.
-
Let the thick batter rise for 60-90 minutes. This batter won’t double in size, but it’ll definitely puff up. Gently stir the batter down. Scrape it into a lightly greased 8 1/2” x 4 1/2” loaf pan.
-
Use your wet fingers, or a wet spatula or bowl scraper, to smooth the top, eliminating any “wrinkles.” The smoother your loaf is before you put it into the oven, the smoother it’ll be once it’s baked.
-
Lightly sprinkle the top of the loaf with oats and press lightly into the loaf. Loosely cover the pan and let the dough rise till it barely crowns over the rim of the pan. 45 – 60 minutes, as much as 90. Towards the end of the rising time, preheat the oven to 350°F.
-
Bake the bread for 25 minutes, until golden brown. Remove it from the oven, and turn it out of the pan onto a rack. Lightly brush with melted butter to help keep the crust soft, being careful not to brush off the sprinkling of oats. Slice when completely cool. Enjoy!
Brush the slices with honey for extra sweetness to this delicious Gluten Free Honey Oat Bread!
RESOURCES:
Recipe adapted from Barefeet in the Kitchen
Some of the links may be affiliate links, which means I may earn a commission at no additional cost to you, if you click through and make a purchase. I only share links of products I either use or would be comparable to what I am currently using.
|
|
Find me on


©Laura Lawrence, All Rights Reserved Privacy Policy Affiliate Disclaimer Terms of Service