How to Grow – Maintain – Harvest – Preserve Dry Beans

Day #17
Growing beans screams “food security” to me and I”m here for it!! Over the last few year’s I’ve been growing and expanding my dry bean knowledge and repertoire. I first started with beautiful kidney beans to make chili with, then I added in black beans that I put in every dish imaginable, and then pinto beans which I make my Refried Beans out of.
There are some tricks to harvesting them however and that will take some extra attention & care. I’ll talk about that below plus lots more.
Ever hear of this song? “Beans, Beans the music fruit the more you eat the more you……. ______ ” Can you finish that song?
Dry Beans I grow: Kidney, Black Beans, Pinto & Calypso.
Where I purchase Seeds From:
Baker Creek – www.rareseeds.com
Siskiyou Seeds – www.siskiyouseeds.com
MiGardener – https://migardener.com/
High Mowing Company – https://www.highmowingseeds.com/
First watch this video on WHY you should be growing Dry beans
Watch this video as I dive into all about the Dry Beans
How to Grow & Maintain Dry Beans:
- Grab an Heirloom variety of seed (I plant kidney, pinto, black beans)
- I like to plant in long rows 6 to 8 inches (or more) in between each seed
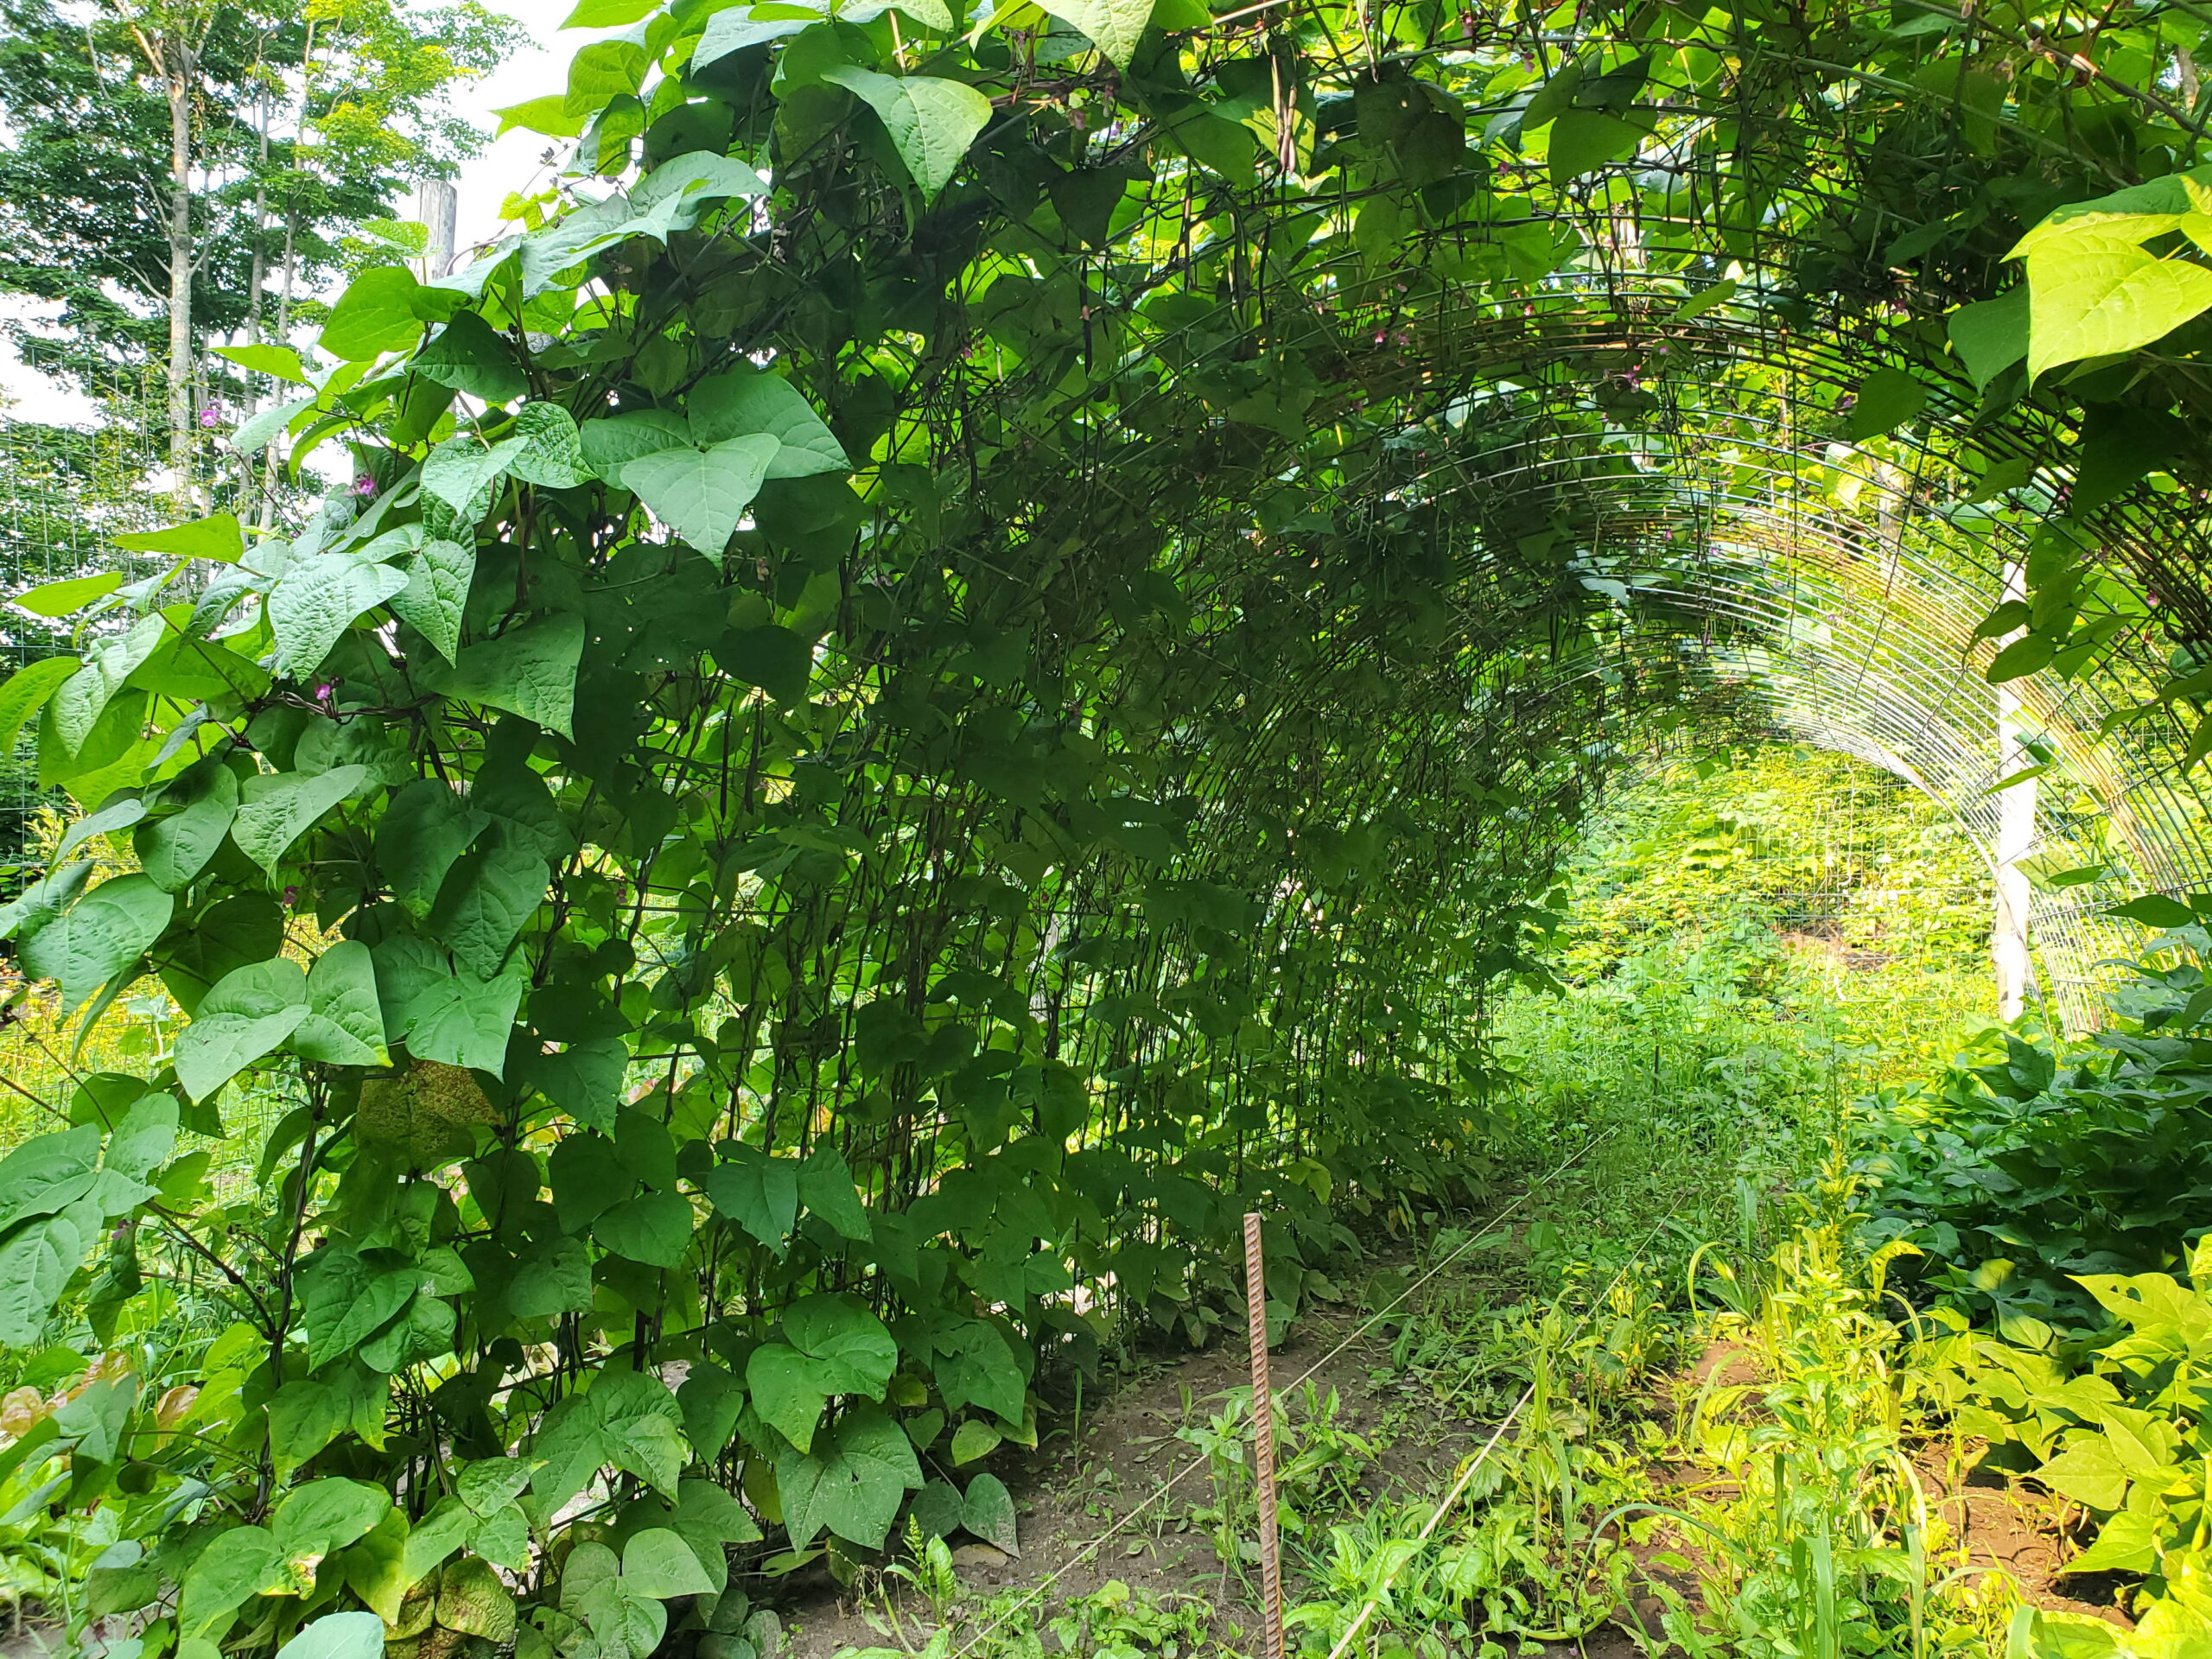
- Typically they are bush plants so they do not require a trellis, however they will need some help to keep off the ground. They need good airflow in order to dry out and not become moldy.
- I”ll place a rebar at each end of the row and pound in and then tying strong rope to each end and allowing the bean leaves to droop over the rope but keep them off the ground as much as possible.
- In zone 5a I will plant these directly in the ground (do NOT start them ahead of time read why here and scroll to the bottom)
Important Tips:
Dry beans needs lots of air flow and ventilation. Try not planting them near other plants that would inhibit the sun or air.


How to Harvest Dry Beans:
- You will know when it’s time to harvest (or when they are fully grown) by visibly seeing the dimension of the seed within the pod.

- I like to start pulling them out when I can tell they are fully formed and the leaves are dying back. I will keep an eye out on the weather as well. If I know there’s a rainy season coming up I may pull them early and allow the sun to dry them as much as possible. If you do not get a lot of rain for a month or so go ahead and leave them be in the ground and allow to dry/die back all the way.
- Pull the whole plant out of the ground and tip them upside down using the rope to keep them off the ground. (See in video below)
- You could also stick them through a hog or cattle panel, or lay the hog panel flat and up off the ground using t posts and drape all the pulled plants on top to allow to dry.
- At some point you may need to move them into a covered area due to the weather, so plan on that as well.
- You could also trim the leaves to rush along the process or place in a heated area (We used our outdoor wood boiler room to help as well)
Preserving Your Dry Beans:
- Once the beans are dry on the stem or at a point where you have the time you’ll need to start shelling the beans. This is quite a messy process as the dust, debris and leaves go everywhere. We place them in totes and bring them in the house during the colder months and watch a movie and we all get shelling. You could do this on an old sheet as well. We’ll place out an empty tote for the spent shells, etc and also other bowls to place the dried beans into.
- After they are completely dry you can place them into jars. You can tell by using your fingernail and denting the bean. If it it leaves a mark they are NOT dry. So leave them in an open area in a tray and allow to dry. This does take some time so be patient. If you put them in a sealed jar to quick they will go moldy on you.
- Once dry place in large jars or buckets and close with a lid. I will leave them on my half moon table until I’m ready to preserve them using a pressure canner.
Preserving Techniques:
My favorite way to further preserve the beans is by using my All American Pressure Canner, you’ll need to follow their easy directions to do this. The reason I do not soak them and cook them to use right away is for two reasons. 1. I can never seem to get them soft enough doing it this way (especially the kidney beans) 2. I can easily grab a canned jar and use it for my Black Bean Burritos, Carnitas, or Chili (among many other recipes)
My All American Canner can process up to 14 quarts at a time – I like to get er done! However you can buy smaller one’s that will do the typical 7 quarts at a time. I highly recommend that brand, it’s an investment of around $500 but very worth it.
Happy Growing Beans My Friend!
Grab My Ultimate Garden Bundle

Day #2 Top Gardening Tips to Start Today
Day #5 Garden Planning
Day #6 Learn to Grow Anywhere
Day #7 Top Tools to Have on Hand
Day #8 Learn about Good pests in your garden
Day #9 Vertical Gardening
Day #10 Gardening Quick Guides
Day #11 Creating a Compost
Day #12 Introduction to Herbs Part 1
Day #13 Introduction to Herbs Part 2
Day#14 Children in the Garden
Day #15 Growing Root Vegetables
Day #16 Growing Tomatoes