
![]()


![]()
Laura Lawrence- Northern Michigan Homesteader
Did you know you can make Apple Cider Vinegar-
with the “mother” right at home?
Use this to help make Homemade Bone Broth and Lemon Immune Boost Drink!
Well you can! It’s fairly easy and loaded with nutrients. Plus I love the more I learn to make at home to save on all that extra cost at the stores. Who doesn’t love all of that?
Ever why they call it the mother? Well my guess is the glob that you have in your ACV you can then take to create a future vinegar easier. But still a strange name I say.
You’ll need a few things to get started, so let’s cover that right away.
- Glass Jars – I prefer half gallon jars but you can start with a quart jar to get started. I like these one's.
- Fermenting lids or weights – once you start this fermenting journey you’ll want some good ones. If not you can use different things to weigh the apples down below the water creatively. I LOVE these ones!
- Water – do not use chlorinated water – I use the water that I filter with my Berkey.
- Sugar – this helps “feed” the naturally occurring in the apples
- Apples – of course! You can use scraps from the core and peelings or the whole apple if you want. Make sure they are organic apples or one’s you have on your property that have not been sprayed.
- Apple Peeler - you do not need a fancy one but this one I got is a game changer and I use it whenever apples are around.
So why make your own ACV? It’s high in nutrients, great for your skin and hair, and your gut. If you’re into science, do a quick search on the benefits of ACV.
How does this work? By adding a bit of sugar and using cut up or peelings the apples release yeast by naturally fermenting it then feeds on the sugar to create lots of bubbles to turn into vinegar. This creates good bacteria and most of the sugar gets eaten up so you won’t have to worry about that.
Let’s get started!
- Make sure your glass jars, apple peelers, all utensils are clean
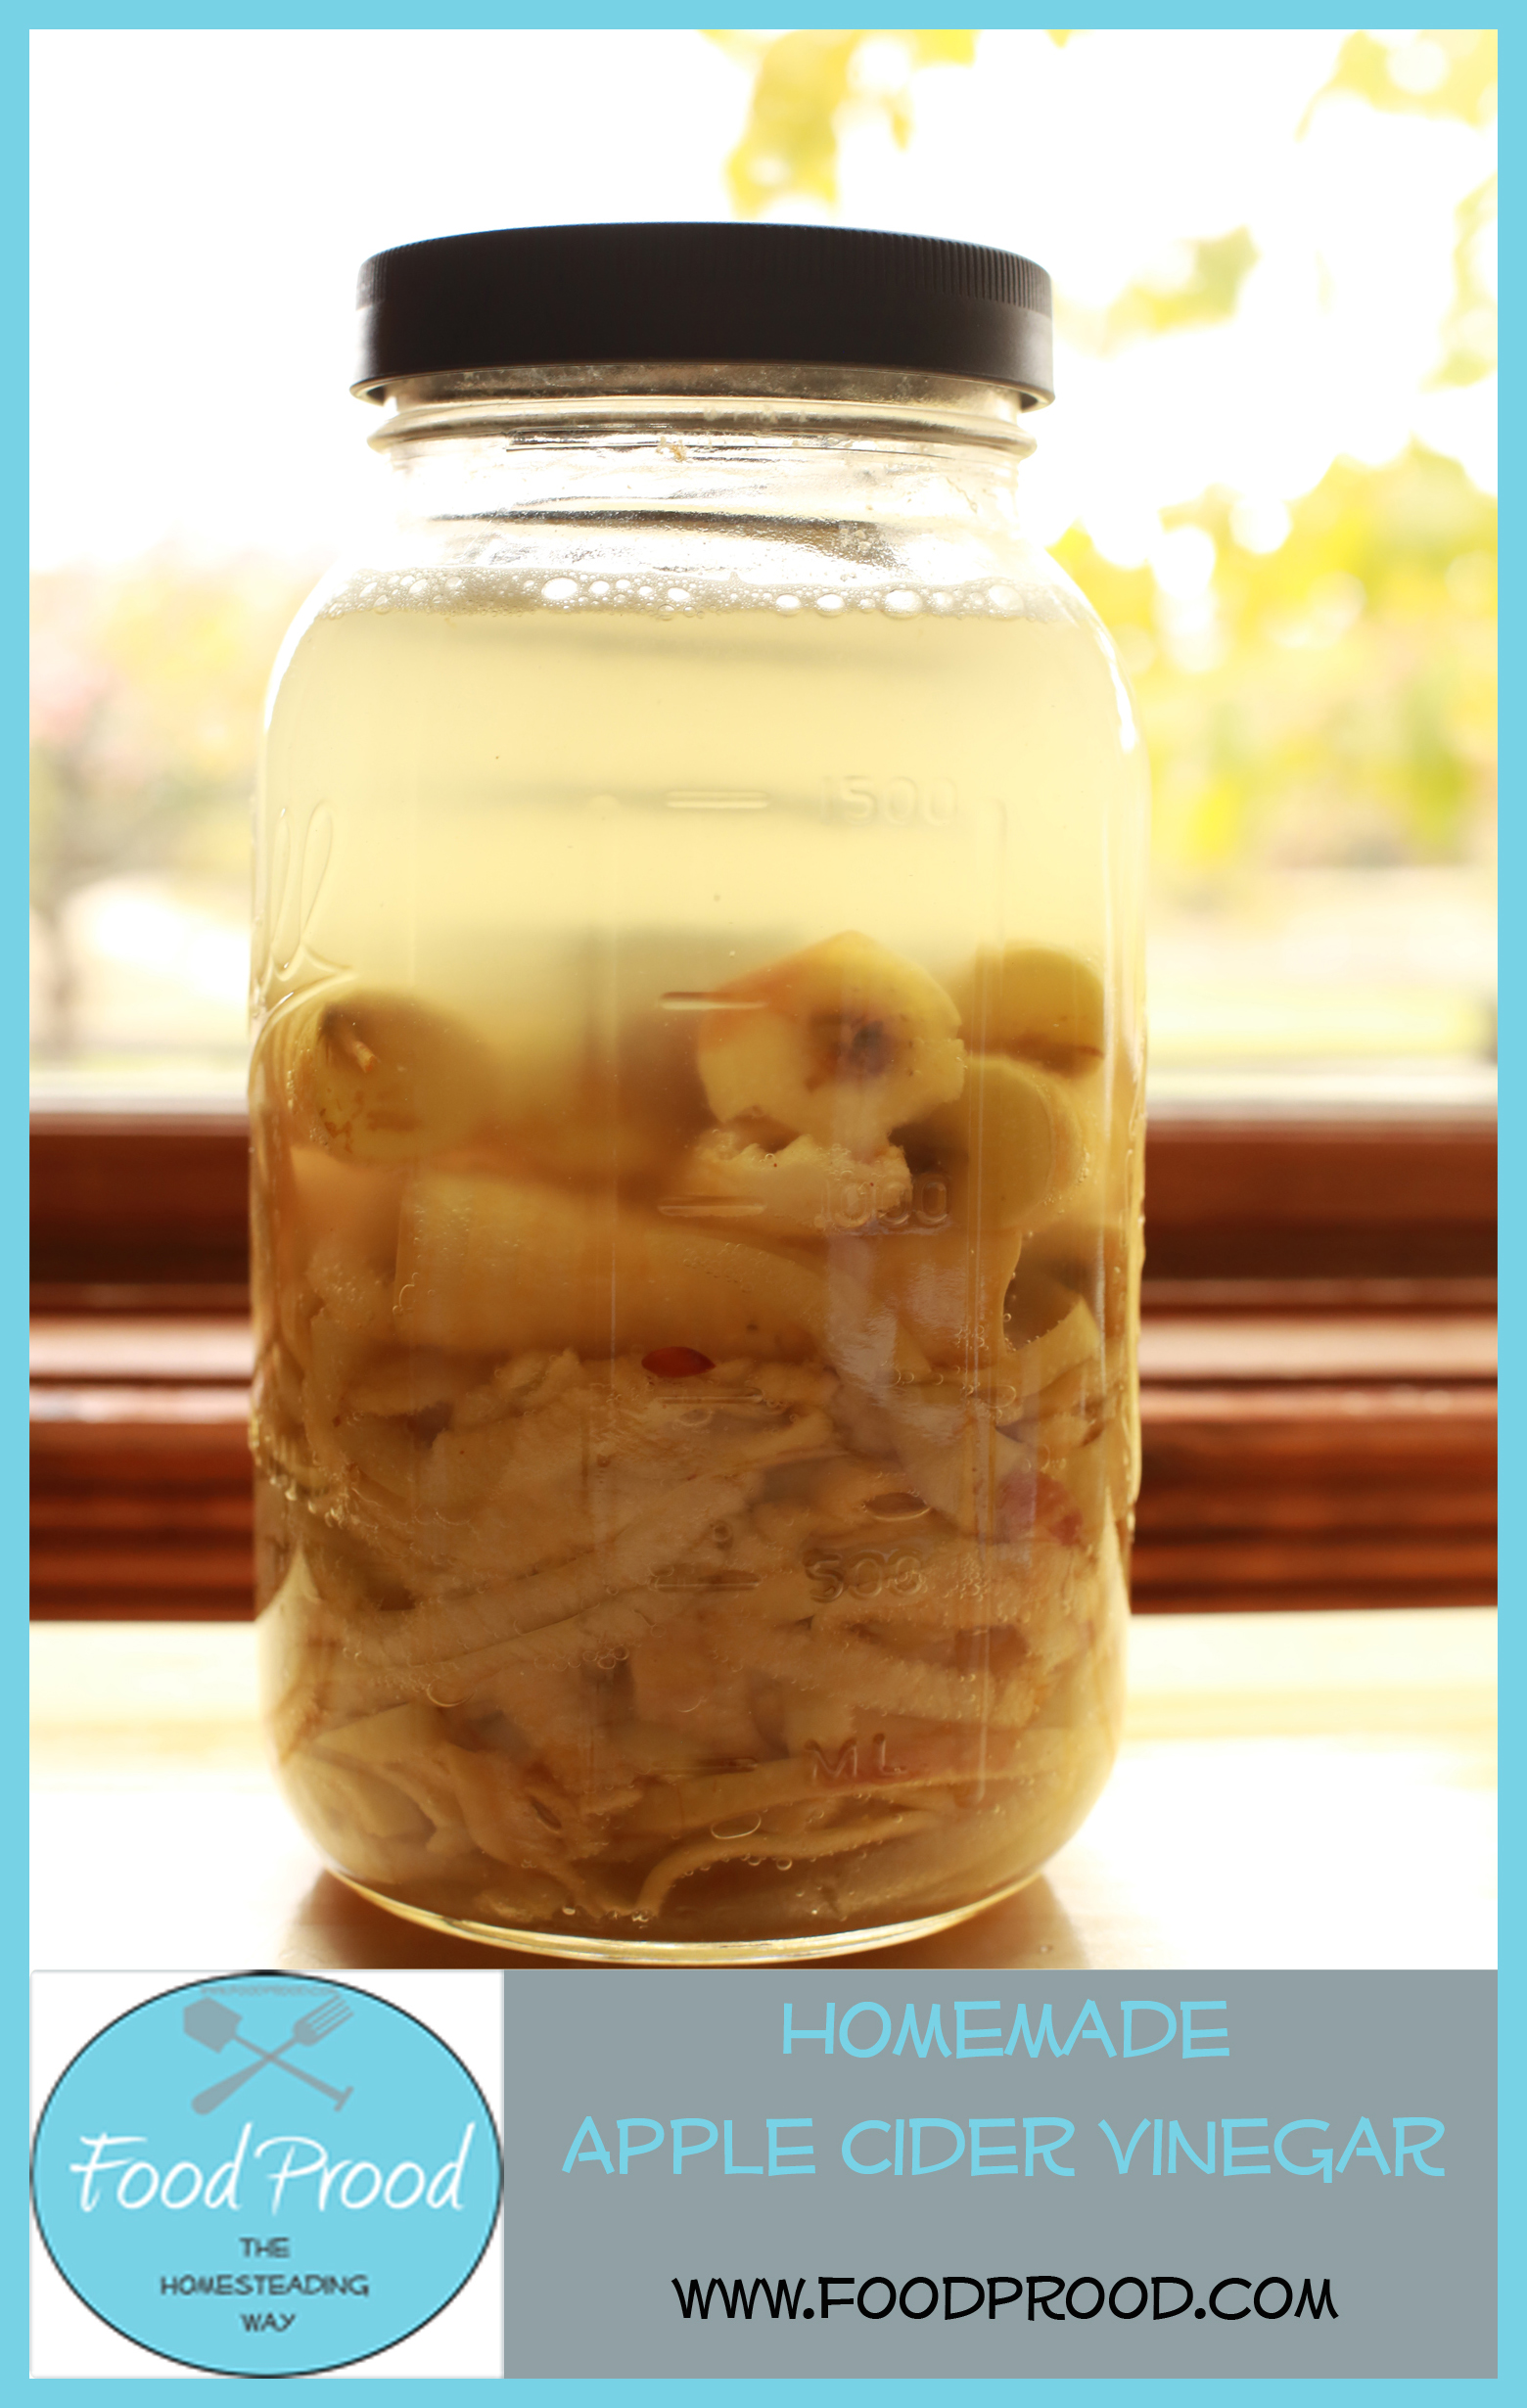
- Place your apple peels and cores in the jar- TIP: Place the peelings at the bottom and use the heavier cores on top to help hold down the peelings. Fill the jar 3/4th of the way full.
- In a separate bowl add 1 tablespoon sugar to each 1 cup you use of water. Stir and pour in your glass jar slowly. Make sure everything is covered.
- At this point you’ll need to try to get those peelings under the cores so they don’t pop up out of the water. Everything must say below the water in order to not mold/rot. White scum on top is fine, mold however is not.
- Place your fermentation lids or weights on top to cover. Little bugs and gnats love this stuff so cover with a cheese cloth or coffee filter with a rubber band. It cannot be a solid lid as the gasses need to be able to escape from the fermenting process.
- Store on your counter for 3 weeks and randomly check to make sure no pieces popped up above the water line, if so add water and push down.
- After 3 weeks you will then strain out the apples and compost and return the liquid back to the jar. Recover and place in a dark area or cupboard for an additional 3 weeks. Stir every few days if you remember.
- After 3 to 4 weeks if you like the tartness of the vinegar place in a new jar and start to use!
NOTES: If your vinegar grew a “mother” you can just leave it in the jar like I do, or you can use that to create a new batch of ACV more quickly. I use my ACV when I make my chicken bone broth to help leach out the vitamins from the bones. It’s also good for health and hair!
Check out this site to read more about the uses of ACV.
RESOURCES:
Half Gallon Jars & Fermenting Weights


Learn How to Make Cheese Here!

Some of the links may be affiliate links, which means I may earn a commission at no additional cost to you, if you click through and make a purchase. I only share links of products I either use or would be comparable to what I am currently using.
|
|
Find me on


©Laura Lawrence, All Rights Reserved Privacy Policy Affiliate Disclaimer Terms of Service